Tag Archives: basil

Parmesean Basil Orzo

Today I bring you… a little bite of heaven. Otherwise known as Parmesean Basil Orzo. I’ve had a taste for orzo recently and convinced my parents to pair it with a whole grilled chicken. The original recipe comes from Plain Chicken.

Basil Parmesean Orzo Recipe tested on Pintertesting.com

Parmesan Basil Orzo
serves 6-8
2 Tbsp butter
1 1/2 cups orzo
3 cups chicken broth
1/2 tsp garlic powder
3/4 cup grated parmesan cheese (yes the stuff you usually add to pasta or pizza)
2 Tbsp chopped fresh basil
salt
pepper

  1. In a large skillet, combine butter and orzo.  Sauté over medium heat until orzo is golden brown, stirring frequently.
  2. Slowly stir in the broth and garlic powder and bring to a boil.
  3. Cover and reduce heat to low.  Simmer 20 minutes or until orzo is tender and almost all the broth has been absorbed.
  4. Remove from the heat, stir in the basil and Parmesan and salt and pepper to taste.

Serve hot.

——————————————————————————-

Some of the lights in my kitchen have burnt out so the lighting is even worse than usual. It looks and tastes similar to a mac and cheese, but not nearly as cheesy. It’s both light an delicious and a perfect side. My family loved this. This recipe is supposed to serve 6-8 and 4 of us devoured it all.

Basil Parmesean Orzo Recipe on Pintertesting.cm

Grade: Cost: Time:
Our Average: A+ Free. I had everything. Growing my own basil finally came in handy! ~22 Minutes
Level of Difficulty:
Easy
What I Would Change:
Serve warm and right away. Our chicken wasn’t quite done so I needed to reheat it. To do that I added more chicken broth so it didn’t get clumpy.
Overall Impression:
YUM!! We’ll be making this a lot this summer. It’s got just the right about of cheesy flavor but the orzo is still light enough to make a perfect summer side dish.

Planting Seedlings in Eggshells

This year I made a vow to start learning how to garden. I could grow some vegetables, but that’s my mom’s favorite thing. Instead I wanted to grow some fresh basil, parsley and cilantro. We use basil and parsley in a lot of things, and cilantro is just what one needs to make a great batch of salsa!

Last summer I gave a go at growing seeds in an old plastic container. I never got to writing up a post about it because I butchered it. I ended up frying my seeds. This year I wanted to try something different. The pin I gravitated towards is one where you begin to grow your seedlings in eggshells.  I’ve read that eggshells contain calcium which helps to boost plant growth.

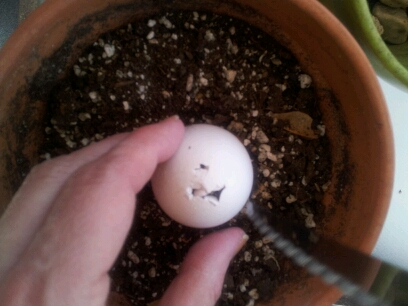
Before beginning, I poked some holes in the bottom of the eggshells. I wanted to make sure there was a drainage system in the shells before planting my seeds. This would ensure that any extra water I added wouldn’t drown my seeds. (Note: I did NOT clean out my eggshells before this. I thought that maybe the leftovers from the egg could be beneficial)

image

image

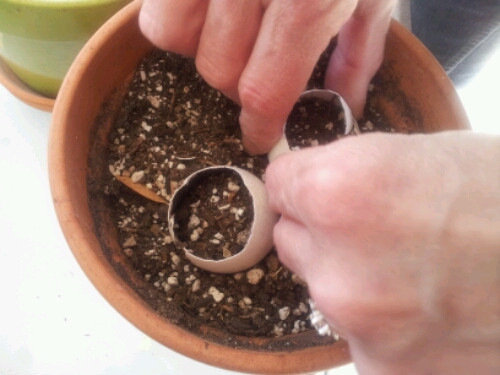
Once I filled the egg 3/4 of the way with soil, I added the seeds. Then I covered the seeds in more dirt. After this I gave the seeds quite a bit of water to start the process going.

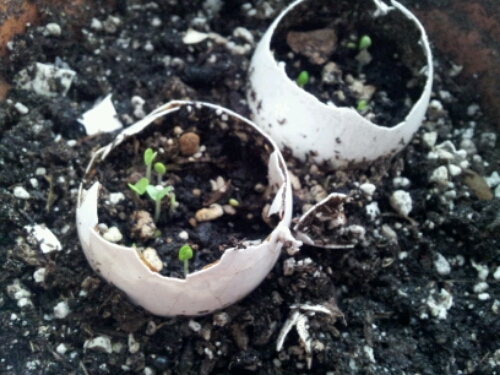
I added water every other day and after a week I saw……

image

I grew a plant!!! Basil to be precise. I’m so proud of these little babies! Unlike my attempt at gardening from last summer, these seeds were alive and growing! I now feel overprotective about these tiny babies, but I’m very excited for them. Since I’m confident this worked, I planted the parsley and cilantro with the same technique.

image

Grade: Cost: Time:
A+

Free

Ongoing
Level of Difficulty:
Easy
What I Would Change:
Nothing
Overall Impression:
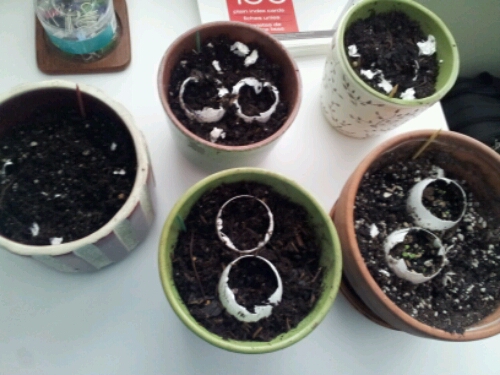
I crumpled up the excess top of the egg and sprinkled it around the rest of the dirt. I’m surprised how well and quick my plant grew! I think I’m going to start all my seedlings like this!

One Pot Pasta

We are all about quick dinners ovah here and there has been much contention over who has to do the dishes. So. It was kind of like an angel (Martha Stewart) descended from the heavens (Pinterest) and laid this One Post Pasta recipe in my path. Without further ado, here is the process:

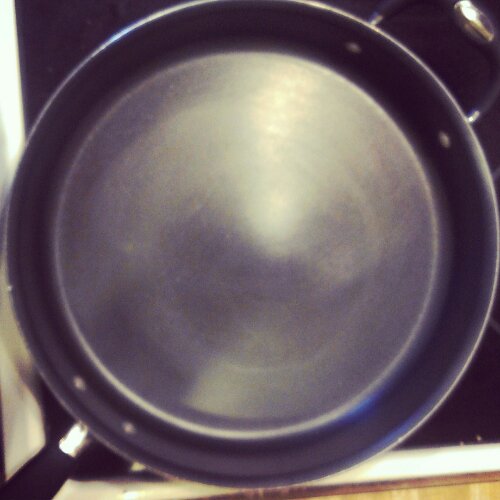
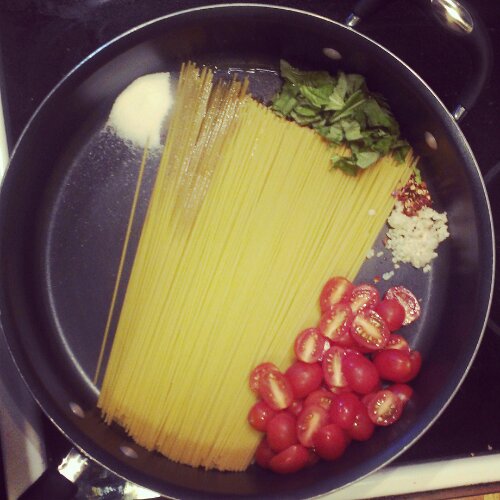
Take a large, straight sided skillet.

image

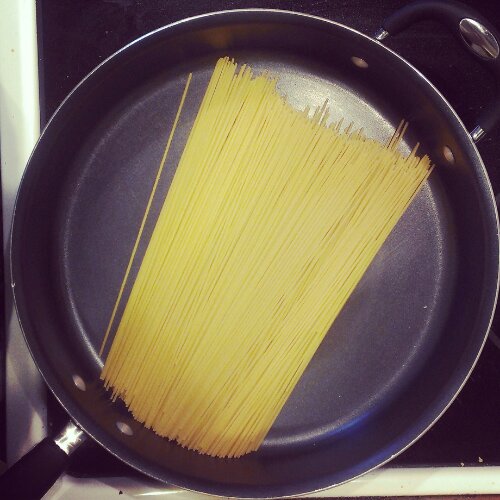
Put 12 oz of pasta in the skillet

image

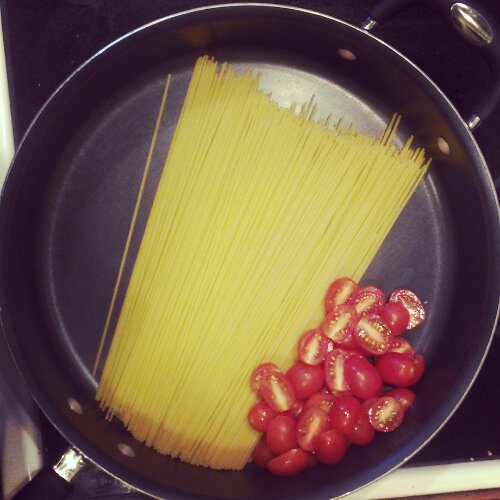
Add about 1 1/2 cups halved cherry tomatoes.

image

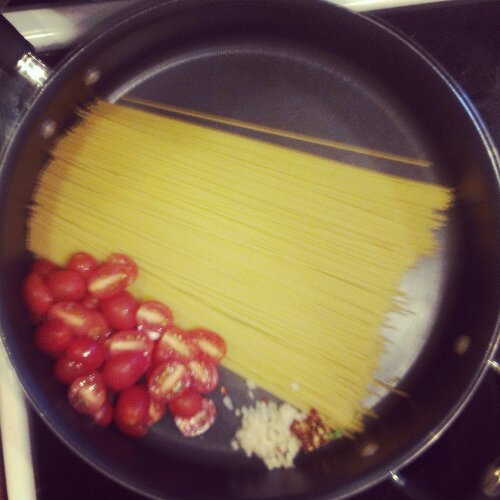
Add garlic and red pepper flakes

image

Add basil

image

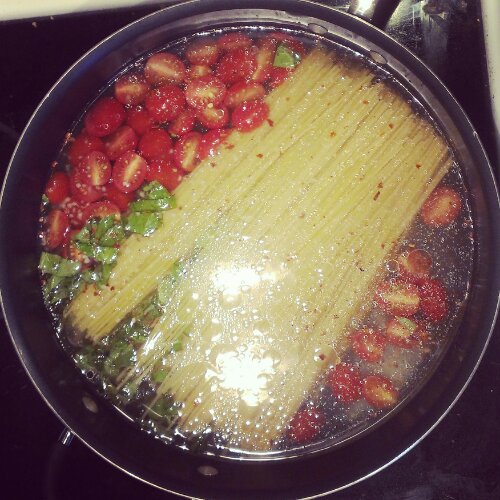
Then add 4 1/2 cups water and set it to boil

image

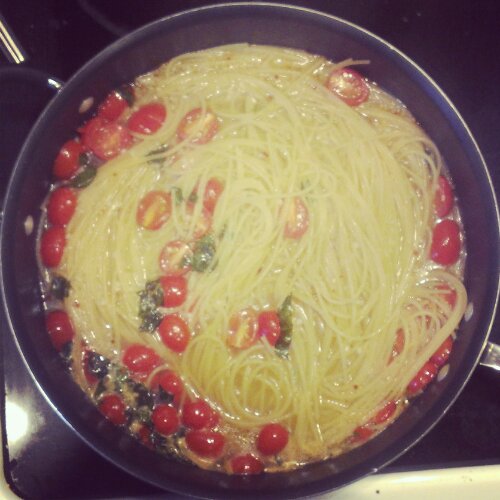
It took about 10 or 11 minutes for the water to evaporate mostly off

image

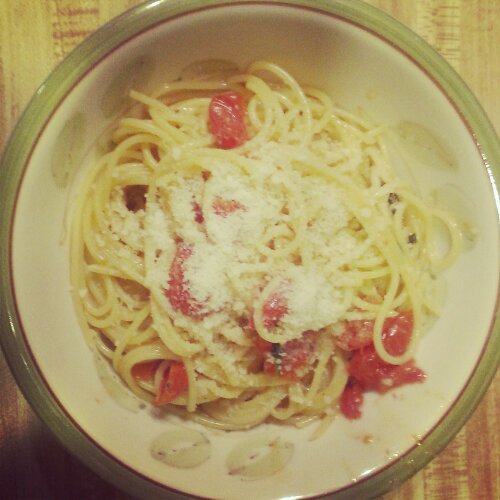
This is my 1/4 of the dish with a little grated parmesan on top.


image


By the way, lovelies, this is Pintertesting’s 200th post! Thanks for hanging out with us and making the last 200 posts and the last almost 7 months so amazing!

Grade: Cost: Time:

B+

$10

Prep: 5 minutes

Cook: 10 minutes

Level of Difficulty:
Easy
What I Would Change:
Less red pepper flakes! I love spicy food, but this ended up being way too much!
Overall Impression:
This was really delicious but very spicy. Next time less red pepper flakes, which will probably be tomorrow. Haha.

Grilled Bruschetta Chicken

All winter I’ve been waiting for grilling season to start. Mostly because of a pin I found for Grilled Bruschetta Chicken. I love Bruschetta and thought this sounded like a fantastic way to turn an appetizer into a healthy meal.

For you non cooks, this recipe is extremely simple. The hardest part for us was figuring out how to turn on the new grill. (My Dad has been the only one to use it yet, and he wasn’t home to help)

Ingredients
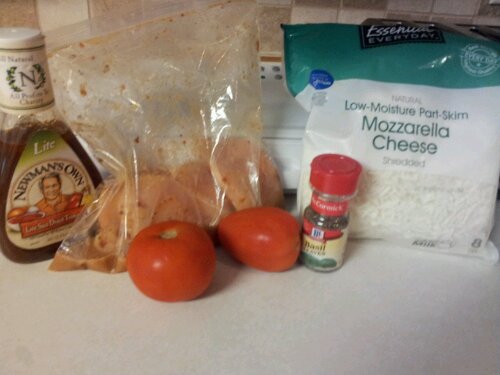
4 small boneless skinless chicken breast halves
1/2 cup KRAFT Sun-Dried Tomato dressing, divided (We couldn’t find Kraft so we opted for Newman’s Own Sun Dried Tomato Dressing)
2 tomatoes, finely chopped
1/2 cup shredded part-skim mozzarella cheese
1/4 cup chopped fresh basil or 1 tsp. dried basil leaves (I used dried basil)

image

Here are the instructions from the pin.
Instructions

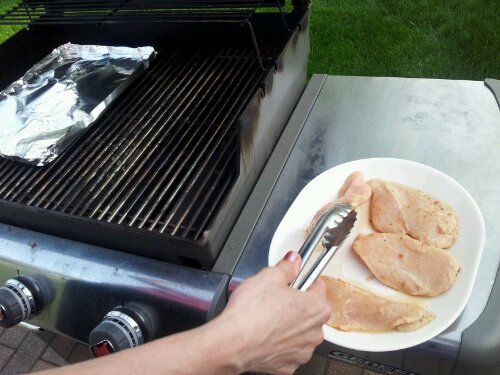
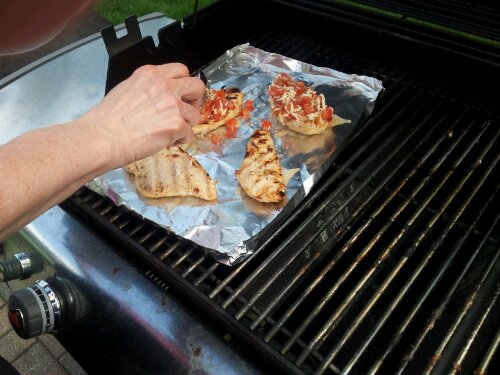
  1. Place a large sheet of heavy-duty foil over half of grill grate; heat grill to medium heat. Meanwhile, place chicken in resealable plastic bag. Add 1/4 cup dressing and seal bag. Turn bag over several times to evenly coat chicken with dressing. Refrigerate 10 minutes (I marinate it all day if I remember in time). Remove chicken from bag; discard bag and dressing.
  2. image
    image

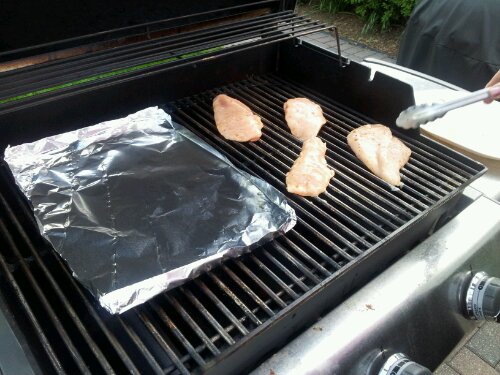
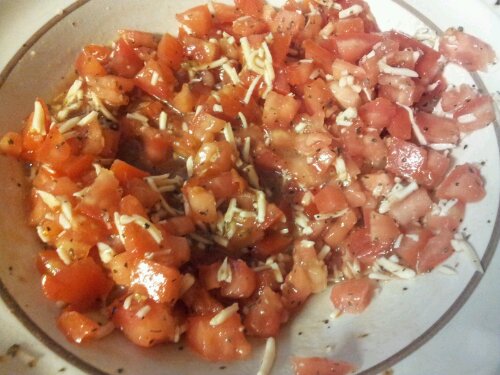
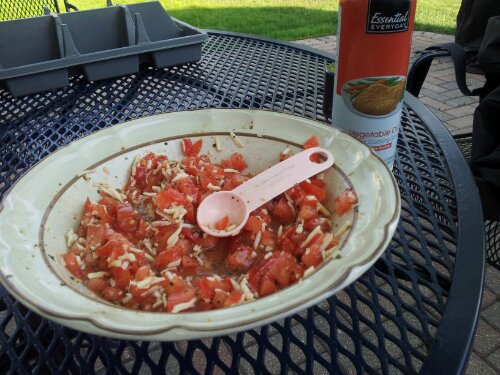
  3. Grill chicken on uncovered side of grill for about 6 minutes. Meanwhile, combine remaining 1/4 dressing, tomatoes, cheese and basil.
  4. image

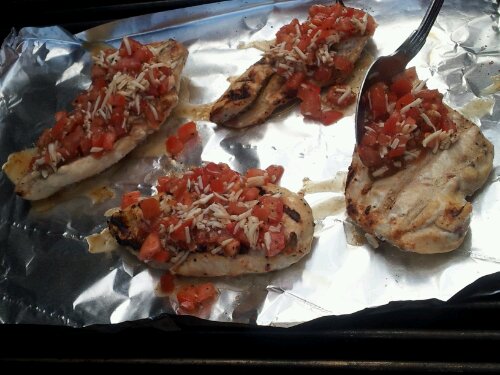
  5. Turn the chicken over and place cooked-side up, on foil on the grill. Top with tomato mixture. Close lid. Grill 8 minutes or until chicken is done.
  6. image

    image

  7. *Sometimes we add a splash of balsalmic vinegar to give it a bit more zip.


What I did/my tips:
While I was at work, we left the chicken soaking in the dressing. This was a great idea! The chicken soaked up the dressing which made the chicken moist and carried through the bruschetta flavor from on top.

I highly recommend dicing the tomatoes before you start grilling. It doesn’t hurt to be prepared. Plus, you’ll have everything right by your grill so you don’t need to run in and out of your house. For the tomato mixture, make sure you only use the specified amount of dressing. It may seem thick at first, but the tomatoes have juice in them that will make it runny.

image

We added a side dish of rice. I would recommend some sort of side dish with this.

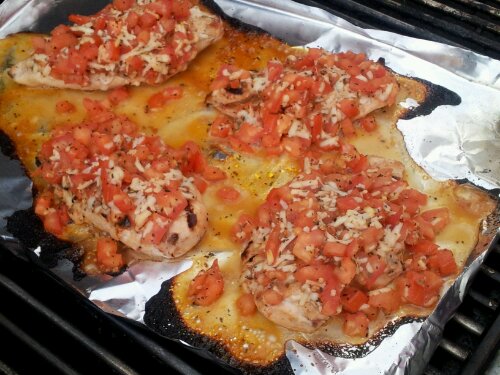
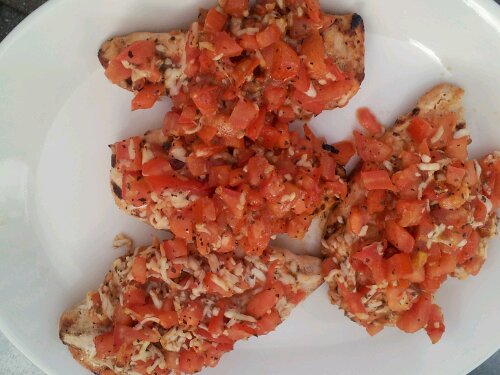
Final result:
image

image

Grade: Cost: Time:

A

$10-15 (Depends if you use fresh basil)

Active: 15 minutes (add a few minutes for prep)

Level of Difficulty:
Easy if you can work a grill.
What I Would Change:
I would love to try with fresh basil. We just used what was on hand. We also added a little balsamic vinegar and balsamic glaze (we tested both on parts of the chicken)

Overall Impression: This recipe was very simple, healthy and easy to make. We will definitely be making this again.


If you’re also a bruschetta fan, check out my Mozzarella, Basil and Tomato Empanadas

Open Faced Empanadas with Tomato, Basil, and Mozarella

Ever since I pinned these, I have been dying to make them! They look like the perfect appetizer for any party or event.

You will need:
12 empanada shells (I couldn’t find these, so I used 30 pre-made phyllo shells)
3 small tomatoes, chopped (I used 2 Roma tomatoes instead of three)
6 oz. mozzarella cheese, diced (Use fresh mozarella, not shredded)
10 basil leaves, chiffonade [thinly sliced]
kosher salt and freshly ground black pepper to taste
Parchment Paper
Baking Pan

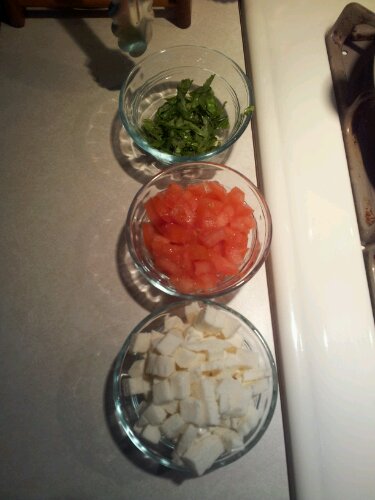
First I chopped up the tomatoes, mozzarella, and basil leaves and separated them into different bowls.
image

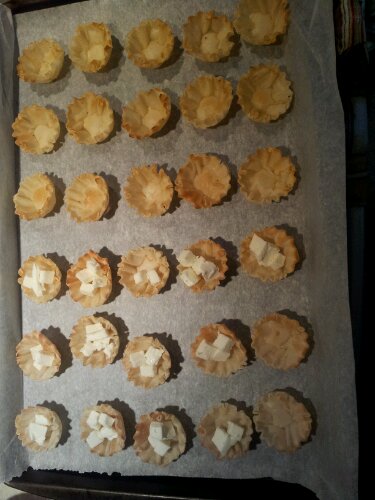
Next, I covered a baking pan with parchment paper and put the empanada/phyllo shells on it. (You don’t need to spray the pan or the paper, because the parchment paper will protect it.)  I then covered the shells in a layer of mozzarella. I wasn’t shy with mozzarella because I knew it would melt (and I am also a HUGE fan of cheese).
image

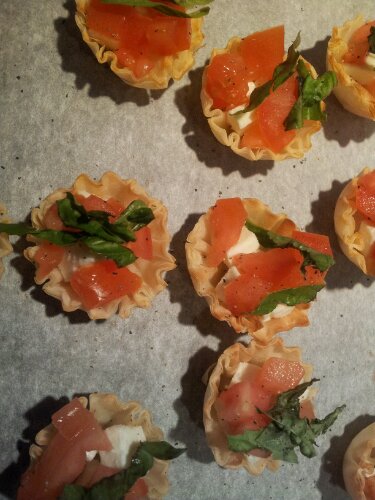
Next I covered them with a layer of tomatoes and the basil leaves.

image

Finally, I covered them with another layer of mozzarella, and stuck them in the oven at 425 for 10 minutes. The recipe called for 15 minutes, but I didn’t want to risk burning the empanadas (since my shells already came pre-cooked). After checking on it after 10 minutes, I put it in for another 4, checking it after every 2 minutes, just in case.

Here is the final result after cooking:
image

I let them cool for 5 minutes to harden up, then called my family in to share them. The result: FANTASTIC! All four of us absolutely loved them. They were there one minute and then gone the next. To enhance the flavor, we added some balsamic glaze, but they were excellent with or without the glaze.

Here is a picture with the glaze.
image

Grade: Cost: Time:

A+

Around $10

Prep: 5 Minutes
Cook: 15 Minutes

Level of Difficulty:
 Easy
What I Would Change:
Nothing. A balsamic glaze enhances the flavor, but they are excellent with or without it.
Overall Impression:
Excellent! My new favorite appetizer recipe. They taste very similar to a bruschetta,
but the cup shape keeps all the ingredients contained, so it doesn’t make a mess.

Slow-Cooker Sunday: Tomato Basil Parmesan Soup

Welcome to our first Slow-Cooker Sunday! Today I’ll be sharing with you this recipe that I’ve been dying to try since I pinned it. Since I received not one but 2 kinds of slow cookers for Christmas, I thought it was high time I got started. I gathered up my ingredients and decided to throw in some extra tomatoes I already had on hand because I didn’t want them to go bad. (Keeping it real here, guys).

image

The instructions were really clear so I had no trouble getting the soup together even though I’ve never made a roux before! I love slow-cooker recipes because they are just leave-them-then-love-them easy.  Like the instructions said, I let the veggies, stock and spices mingle for a few hours and made the roux half an hour before dinner. This is what I ended up with:

image

I was a little nervous for the taste test because I have absolutely no experience making soups and I love tomato soup. I had high expectations! So let me cut to the chase, I loved it! It was creamy, and had great texture thanks to the veggies. It is definitely a step up from canned tomato soup, and thanks to the slow cooker it didn’t really take up much of my time to prepare.  I also thought my love for tomatoes made me biased so I asked my boyfriend (who hates tomatoes) and my sister (who is so/so on tomatoes) to give it a shot and they both liked it. I could see it going well with panini on a cold day as a grown up way to relive those grilled cheese and tomato soup days I had as a kid, but for now I’ll just pack it for lunch!

image 

Grade:   Cost:   Time:    

B+

$5

Active: 10 minutes

Total: 6-7 hours


Level of Difficulty:  
This was very easy to accomplish. Good for a fearless beginner.  
 
What I Would Change:  
 I added diced tomatoes I already had and it added a nice texture.  
 
Overall Impression:  
 I really enjoyed the soup, but the roux seemed a little intimidating for someone who had never done it.